
Teaching English with nothing more than a whiteboard may sound old‑fashioned in the era of tablets and VR headsets, yet skilled educators know that constraints can spark creativity.
A clean surface, a handful of markers, and an organized lesson plan are often all you need to deliver dynamic, communicative language classes that keep learners motivated.
Besides eliminating technological hiccups, whiteboard‑only teaching encourages spontaneity, eye contact, and real‑time interaction, key ingredients for language acquisition.
2. Setting Up Your Whiteboard Classroom
Choose the right board size: For groups of 10–15 students, a board around 4 × 6 ft (120 × 180 cm) provides ample space for writing, drawing, and dividing the surface into multiple zones.
Marker color coding:
- Black for headlines and grammar structures
- Blue for example
- Green for student contributions
- Red for corrections or emphasis
Sectional layout: Divide the board into three horizontal bands: vocabulary, grammar, and practice tasks. Use vertical lines to separate daily agenda, target language, and parking‑lot questions. This scaffolding helps students visually map the lesson flow.
If you teach in multiple rooms, carry removable magnetic strips labeled with common lesson elements (date, objectives, homework). This speeds up set‑up time.
3. Core Teaching Strategies
Vocabulary Building
- Picture Chains
- Draw a simple icon for the target word (e.g., a slice of pizza).
- Ask students to shout out associations (toppings, restaurant, price).
- Write each response in a cluster, synthesize, and circle cognates.
- Draw a simple icon for the target word (e.g., a slice of pizza).
- Memory Erase
- List 10 new words; have students close their eyes while you erase two.
- Teams race to identify missing items, reinforcing recall.
- List 10 new words; have students close their eyes while you erase two.
- Morphology Corners
- Create four board corners labeled prefix, root, suffix, and example.
- Students build word families by moving sticky notes between corners.
- Create four board corners labeled prefix, root, suffix, and example.
Grammar Demonstrations
Timeline drawing is your best friend. For example, to explain the present perfect:
- Draw a horizontal line.
- Mark the present with an “X,” the past with dots, and an arrow looping to now.
- Underneath, write “I have lived here since 2020.”
Students instantly grasp continuity without relying on slides.
Speaking Activities
Divide the board into two columns, Role A and Role B. Write scenario prompts under each. Students in pairs face each other with the board behind their partner, ensuring they read only their lines, promoting authentic dialogue.
Listening Skills
Even without audio equipment, you can practice listening comprehension:
- Read a short paragraph aloud twice.
- On the board, draw three icons representing key details.
- Students retell the story using the icons as anchors.
Reading & Writing Integration
- Jigsaw paragraphs: Write four short paragraphs on the board, labeling them A–D.
- Students in groups copy one paragraph, summarize it, and then rotate to the next.
- By the end, each group has engaged with all text chunks and co‑constructed a full summary.
5. Assessing Progress Without Handouts
Exit tickets on the board: Before class ends, ask each student to write one new word or sentence they learned. Photograph the board for record‑keeping no paper needed.
Traffic‑light self‑assessment: Draw three circles, green, yellow,and red. Students anonymously place check marks to indicate confidence. You’ll spot which concepts need review instantly.
Board races for formative assessment: Divide the class into two lines. The first student in each line races to write a correct sentence using the day’s grammar. Rotate until everyone participates, giving you a clear snapshot of mastery levels.
7. Boosting Engagement with Minimal Tech
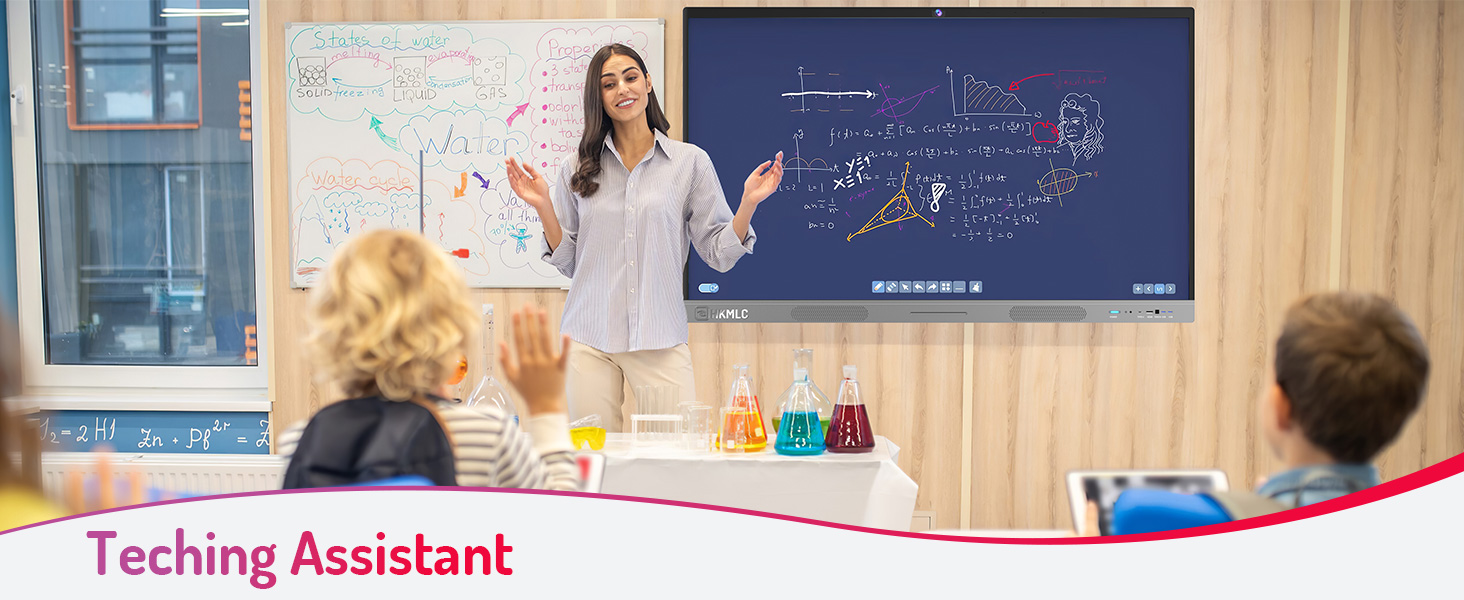
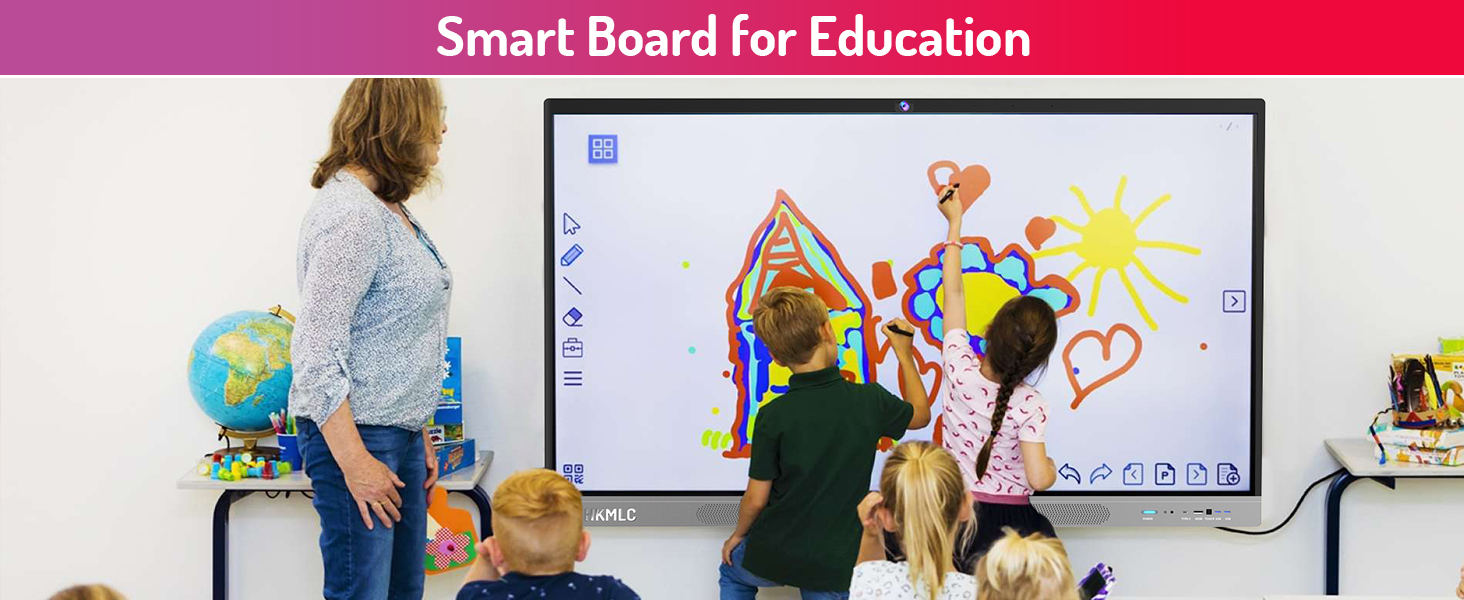
While this guide champions a “whiteboard‑only” approach, many institutions install modern interactive panels that retain the spontaneity of marker writing while adding digital perks.
Schools upgrading to HKMLC smart whiteboards often report smoother lesson transitions because the board can save snapshots of each stage, letting teachers revisit material effortlessly the next day.
If your classroom schedule rotates between analog and digital rooms, maintain consistent pedagogy: draw first, discuss second, digitize third.
For instance, sketch the vocabulary cluster manually, discuss, then capture and email it via the smart board built‑in sharing function, a workflow perfectly suited to HKMLC smart whiteboards without sacrificing the immediacy of face‑to‑face instruction.
Whiteboard Wins: The Takeaway
A whiteboard may be the simplest tool in your teaching arsenal, yet when leveraged strategically, it becomes a canvas for immersive language experiences.
From dynamic vocabulary clusters to grammar timelines and low‑tech listening hacks, each technique outlined here keeps learners active, accountable, and communicative.
Even in tech‑rich schools, educators who master these analog skills deliver smoother lessons when electricity flickers, software glitches, or Wi‑Fi drops. Should your institution later transition to smart whiteboards, the core methods remain the same only the surface changes.